How to Setup a Custom Monogram or Image Projection<
** These directions assume you also rented the projector stand. If you rented a package that includes a projector, then a stand is included.
Contents of Box:
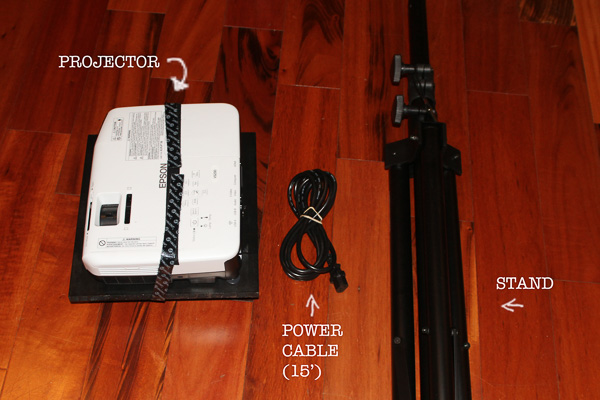
1. Setup Stand.
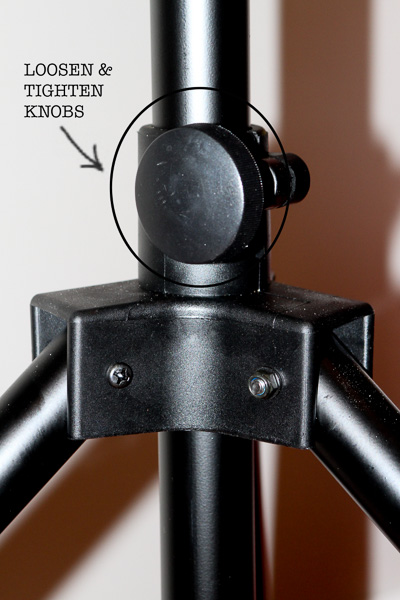
Loosen the knobs to allow the legs to open up. Open up all the way to make a sturdy base. Tighten knob so it doesn’t easily fold back in (not too tight, you don’t want to strip the screw!).

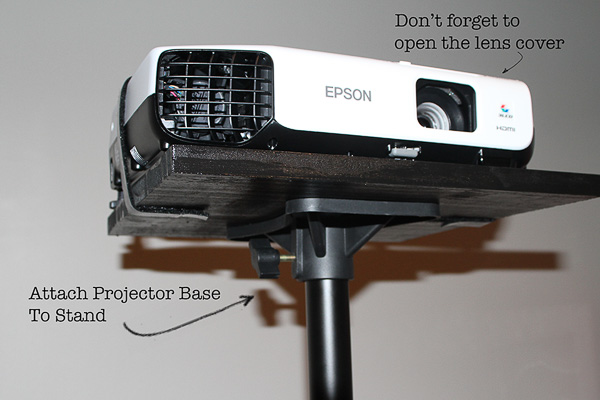
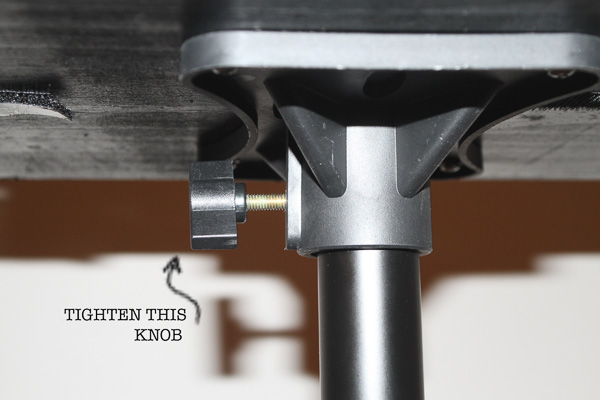
2. Attach projector to top of stand. Tighten knob to hold it securely. You’ll also want to make sure the lens cover to the projector is open.
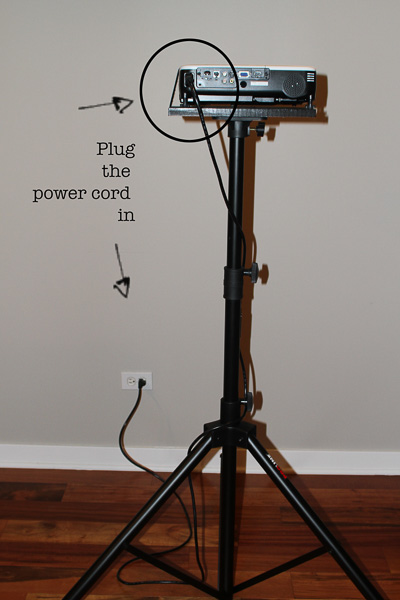
3. Plug projector into a power outlet.
4. Turn projector on.
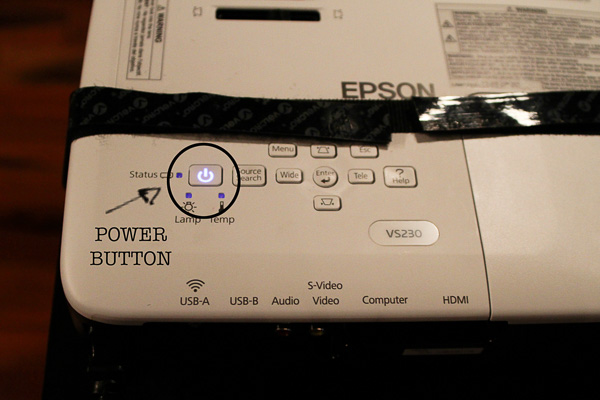
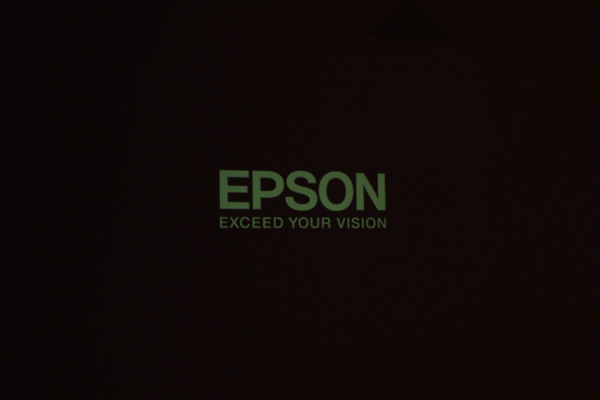
Projector will beep once, then you’ll hear the fans turn on. It takes a few seconds for the projector to warm up. You should see the Epson screen appear.
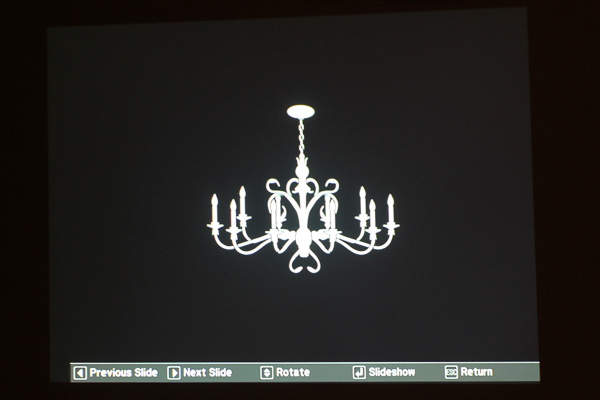
Next the following screen will appear. It will look a little different for you, your custom design should appear in the first slot.
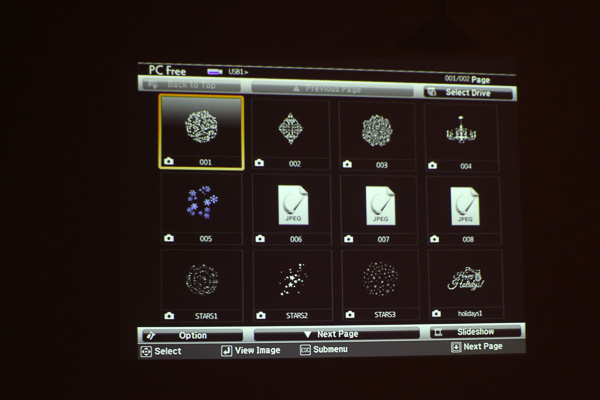
5. Use the remote control navigation buttons (left/right) to select the design you want to project. Click the enter button. (located in the center of navigation buttons).
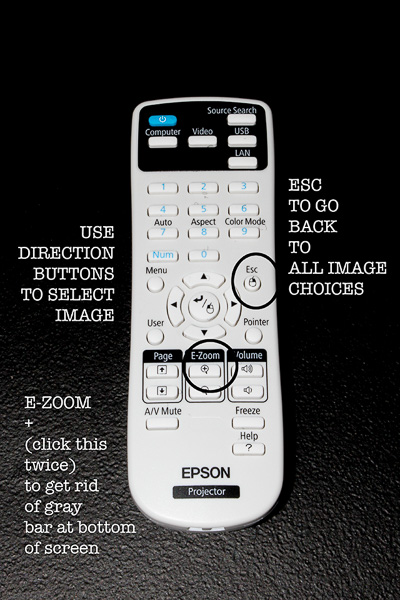
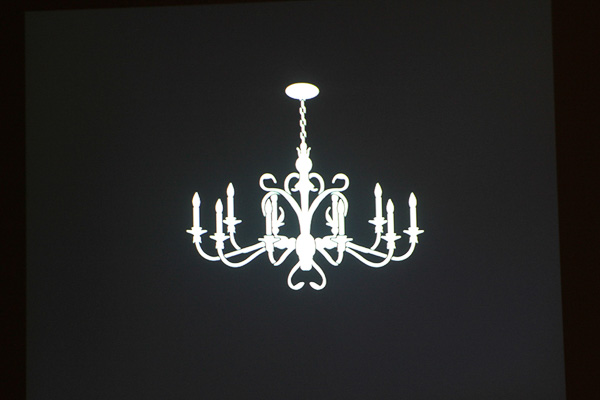
6. After pressing enter, your design will appear but there will be a gray bar at the bottom of the screen. You probably don’t want this, so press the E-Zoom + button once and a small blue mark will appear in center of projection, and then press again and gray bar will disappear. (basically you press that + button twice).
Now you’ve got your projection! You’re probably going to need to raise or lower the stand, or move the stand around to get the best projection. The further back from the wall you want to project the bigger the image will get. Play around with placement for best results.
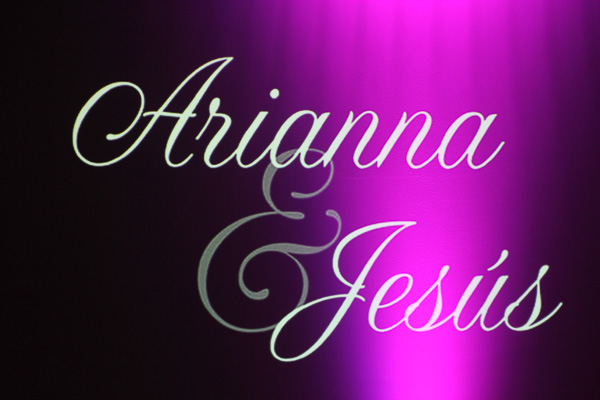
Here is an example of a recent custom monogram:
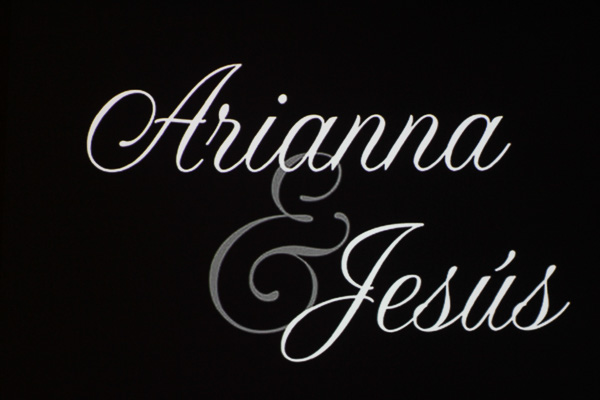
And here is that same monogram but with some uplighting added:
Ready to rent? Select a money-saving rental package